Record recoil pattern for a game. #
take screenshot of bullet prints without attachments and with attachments in one go, that is at same location and same distance.
otherwise when you adjust weapon specific recoil of the gun there will be mismatch of recoil control while you are equipping attachments for the gun and while you are not equipping attachments for the gun.
this is very crucial, while recording pattern.
Open your game and enter into training mode
Take any weapon and extended mag and the smallest scope that is Red Dot and keep all the attachments in hand not equipped.
stand near a wall at certain distance ( for all other weapons try to stand at same distance ). (for attachment pattern it is very crucial for you to stand at same distance)
Fire full magazine and take a screen shot of bullet marks. (do not move the player)
then equip attachments and fire full magazine and take another screenshot
Similarly take screenshots for all other weapons (make sure bullet marks are clearly visible and you stood at similar distance from the wall )
Now you can close the game.
Now open any one screenshot in windows paint.exe. ( if bullet prints are too close to each other you can zoom in , but make sure you zoom in at same level for all other screenshots as well for this game)
After that Open RCL Pattern recorder.
Choose the gun whose screen shot is opened in the paint.
Now we need to get time between each shots, which can be found from google search.
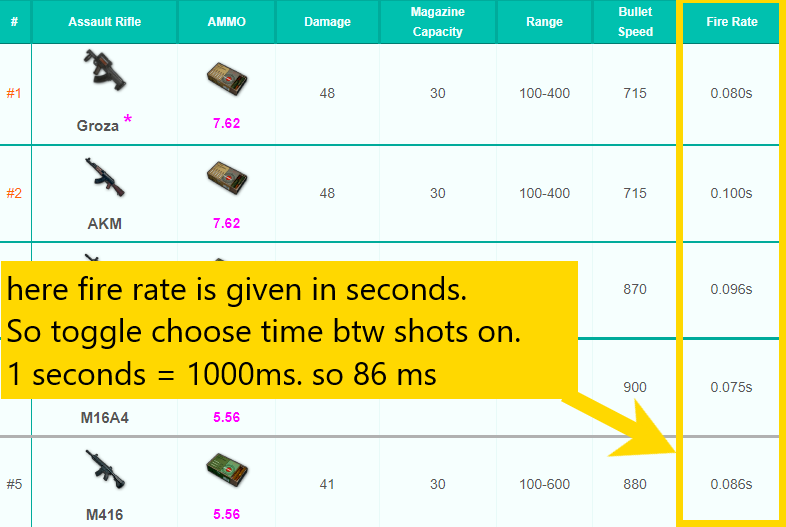
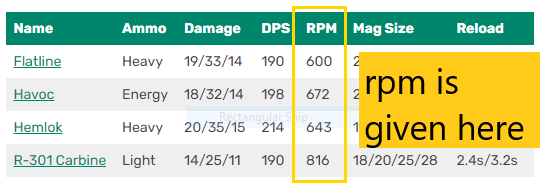
search for weapon stats for the game in google, and open any website that have “rate of fire” or “rpm” for the weapons. here are some example below
Time between shots
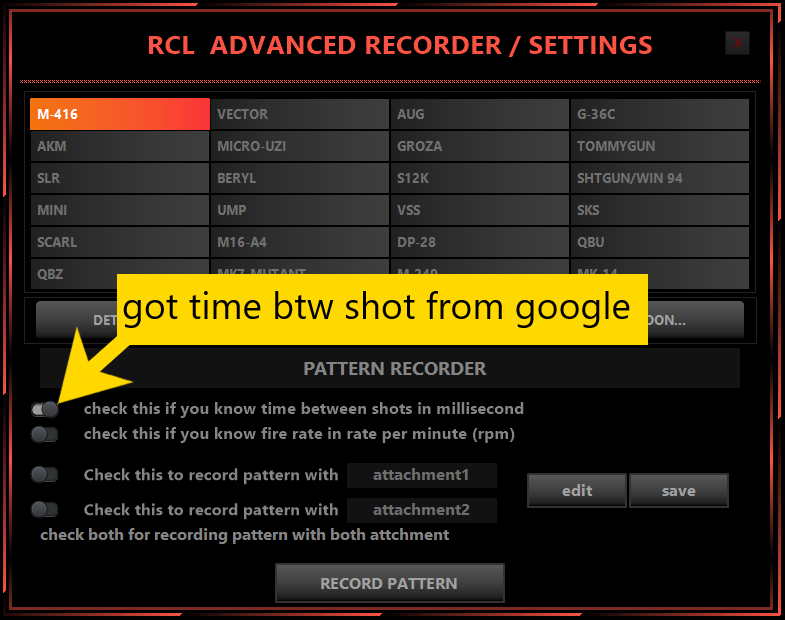
if you found the time between shots in seconds , toggle time btw shots button in RCL pattern recorder interface.
Fire Rate in RPM
If you found RPM as rate of fire , toggle fire rate in rate per minute button in RCL pattern recorder interface.
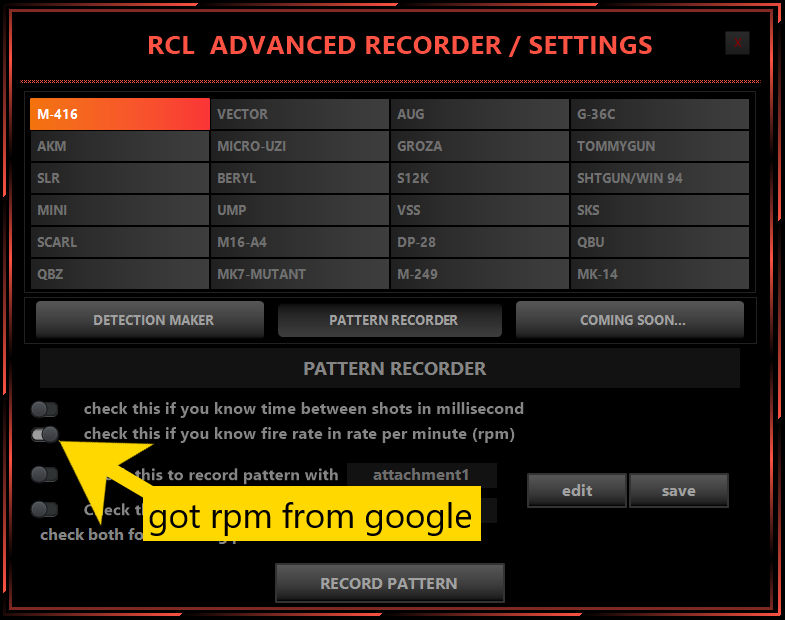
then click on record pattern.
Now a new interface will show up asking initial delay . set an initial delay as per your liking , recoil control will start after this delay , this is needed because some weapons will not start firing as soon as we click left mouse button. For example Havoc in apex legends which require an initial delay of about 500ms.
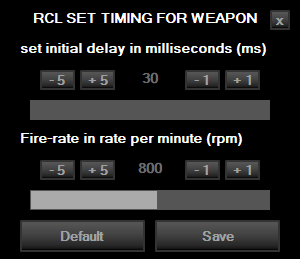
then set the value that you got from the google in other column and click on save.
Now a small interface will be shown on top of the screen.

( if you want to change time between shot after some bullets you can do it in this interface )
Now in paint.exe you have your screen shot opened.
Now Hold down your “Shift” button and click on each bullet marks from bottom to top ( direction is important ).
( You can delete last added bullet mark by clicking on mouse middle button ).
After clicking on all bullet marks while holding “shift” . Release shift
then click on save button. that’s it to record recoil pattern.
Now you may want to record the recoil pattern with attachments.
Its the same procedure just toggle attachment checkbox to record recoil pattern of gun with attachments.
that’s it record recoil pattern .
Record it for all weapons without attachments and with attachments


